In search of the perfect...paella

On a recent trip to Spain, I found time to visit Valencia, the spiritual home of one of my favourite dishes. Over the 48hrs we were there - just in case there were any doubts over my commitment to gastronomic research - I visited five of the more famous paella eateries. This gluttonous adventure finally culminated, together with several large glasses of rioja, at the hundred year old La Pepica restaurant overlooking the white sands of Playa de Malvarossa.

There is definitely something to be said for eating paella under the Spanish sun, but I think that the warming spice and comforting carbs are even more effective as an antidote to a grey English winter.   

Origins

Often described as the Spanish national dish, paella is actually the signature cuisine of the Valencia region.  Developed in the 19th century as a cheap and nutritious way to feed local workers, it used the local Calasparra rice and whatever protein was in season -  water vole and eel were particular favourites.  Thankfully though, a "traditional" paella nowadays is more likely to contain chicken, chorizo, rabbit or snail than trapped rodents from the local river.

The secrets

Whilst every recipe is different, whether valenciana (meat), de marisco (seafood) or mixta, the best paella are based on the same time-honoured basics:

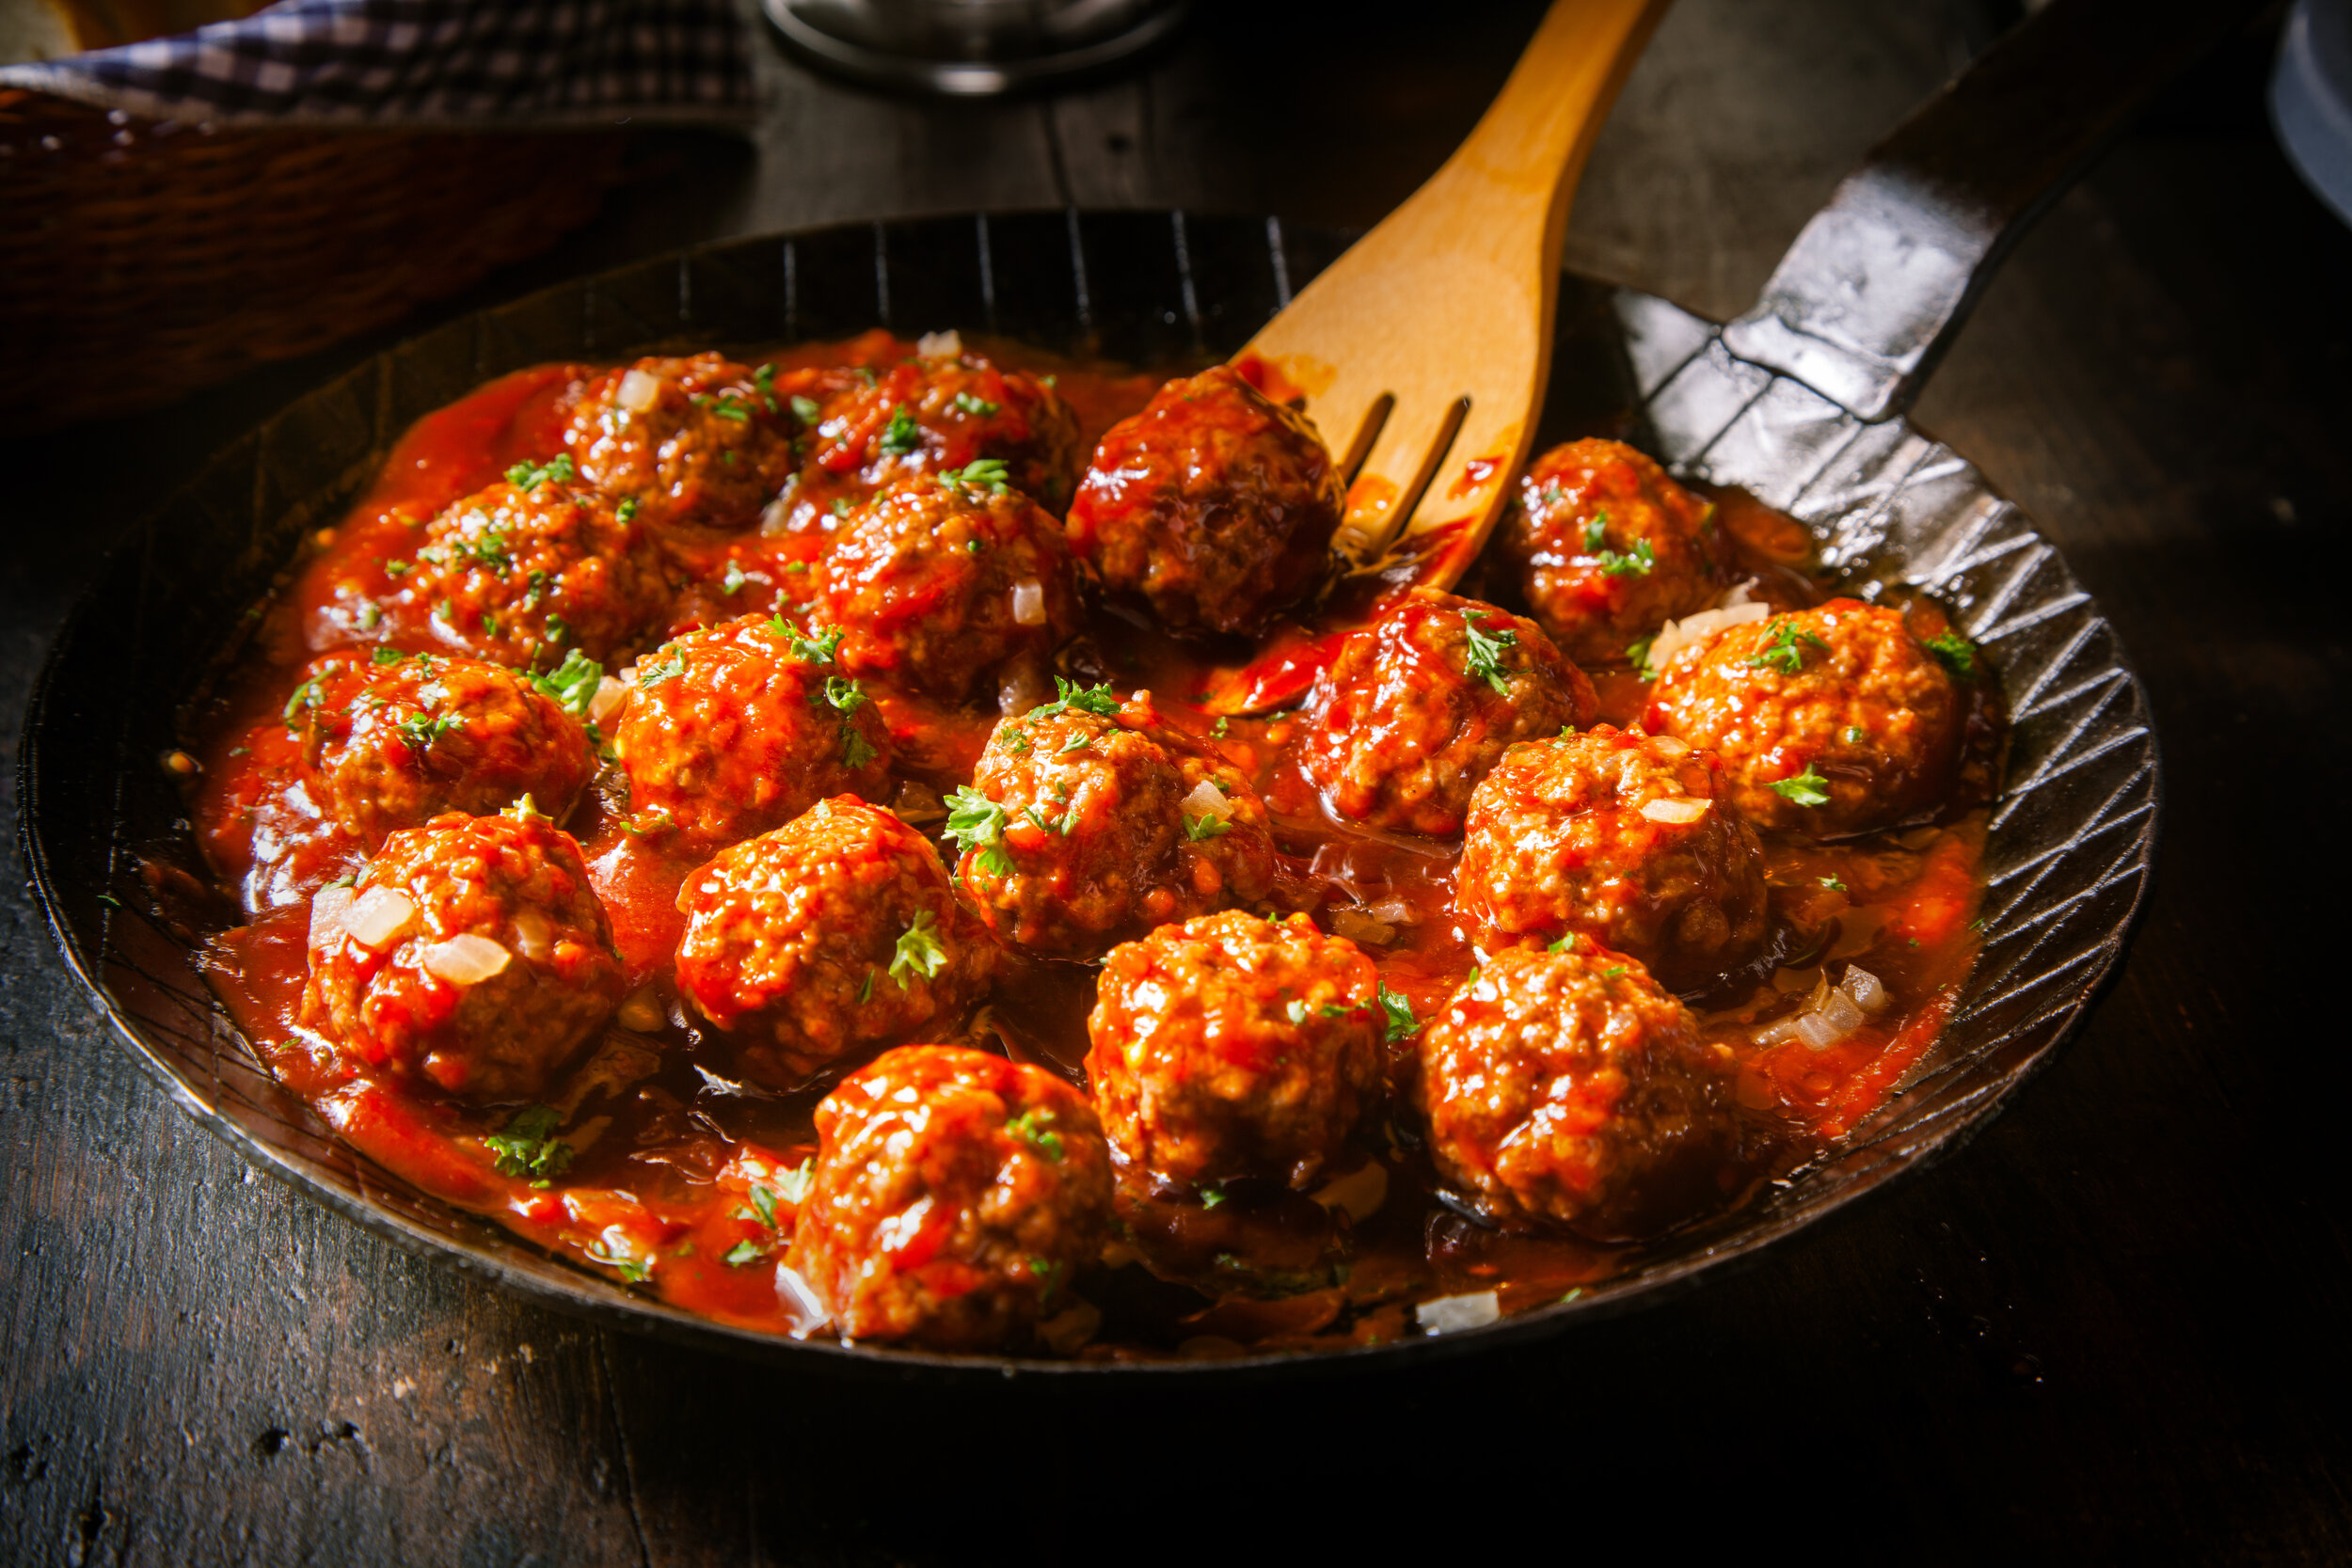
  1. The pan: the word "paella" means "pan" and most afficionados would insist that you cannot make a great paella in anything other than a traditional paelleras. I have to say that this is not quite true, the key is to ensure that as much rice remains in contact with the pan as possible, so that the socarrat (see below) can be created. This means a good wide-bottomed frying pan will do the job, although I do concede that nothing beats a real paella pan for that authentic touch when serving.

  2. The rice: short grained Calasparra rice is really the only choice, with Bomba being the most famous. These varieties absorb up to 3 times their own volume in liquid, ensuring the paella is packed with flavour from the saffron and paprika infused stock. It also ensures that the paella remains moist, despite the lack of sauce in the dish.

  3. The cooking: despite some of the versions I have eaten, paella should not resemble risotto. Luckily, this also means that it doesn't need the same constant stirring and attention. When cooking a paella it should be left alone to do its thing.

  4. The socorrat: the layer of toasted rice at the bottom of the pan created by not stirring is considered a delicacy and is the paella holy grail. If cooking on the hob, rather than an open fire, you can create this by covering the pan with foil and giving a blast of heat at the end of cooking,

If you want to create your own taste of Spain, try my delicious Paella Valenciana recipe.

This post first appeared in the Ashburton Cookery School online newsletter.

In search of perfect…focaccia

I've never had "ok" focaccia. Most of the time it’s just bad - usually a tasteless square of cardboard served up by generic “Mediterranean” restaurants to buy more time to microwave the starters.

Once in a while, though, it can be really good. A light, honeycombed crumb hidden beneath a golden crust, moist with extra virgin olive oil, a hint of sourdough and crunchy flakes of sea salt. The truth is, good focaccia is one of life's simplest joys.

Of course, there's only one foolproof way to make sure you get the best stuff on your plate - and that's to make it yourself. Afterall, it’s only flour, yeast, olive oil, salt and water, so there's no excuse for eating bad bread - but there are a few things that separate the substandard from the sublime:

  • the dough

Focaccia should have a light, sponge-like texture that can soak up the last remnants of olive oil or pasta sauce from your plate. The only way to achieve this is by making a really "wet" dough - you'll be tempted to add more flour, but don't. To make things more manageable do the majority of the kneading in a bowl to stop the sticky goo finding every nook and cranny of your pristine kitchen, use only one hand to do the kneading (so that you always have a clean hand available - believe me you'll need it), and oil everything that comes into contact with the dough to prevent it sticking.

  • kneading

As well as traditional kneading, repeatedly stretching, folding and turning the dough will add structure to the bread.

  • proving

Good focaccia should have a slight sourdough taste. This means giving the yeast time to do its thing. Allowing it to work slowly is the key to great taste, so proving overnight in a fridge is the only way to go.

  • make olive oil your friend

It's in the dough, it's used to stop things sticking, it’s drizzled on top; and mixed with balsamic it is the perfect accompaniment. This is a good thing - remember, olive oil eating countries have some of the longest life expectancies on the planet...and it makes the bread taste great!

  • the dimples

The traditional dimples you see on focaccia are there for a reason. They reduce the air in the dough and prevent the bread from rising too quickly. After proper kneading and proving there will be plenty of large bubbles in the dough. If you try and bake the loaf at this point, they will expand and burst, causing the bread to collapse. To avoid this, you need to dimple your loaf with wet fingers or an oiled wooden spoon handle. This will also increase the surface area allowing you to drizzle over even more extra virgin olive oil. If you do decide to add extra flavourings you can push these into the dimples so that the bread swallows them up as it bakes.

  • toppings

You can be as creative as you like: cubes of mozzarella, sun-dried tomatoes, chopped olives… you get the idea. However, I wouldn’t look any further than a traditional sprinkling of sea salt, picked rosemary leaves and, of course, a drizzle of olive oil. 

Try my rosemary and sea salt focaccia recipe and you’re guaranteed a gorgeous, light bread every time.

In search of perfect...meatballs

There is nothing fancy about meatballs. They're hardly haute cuisine. But the fact is, when made properly, there aren't many other foods that make quite so many people quite so happy. I've flirted with more recipes than I should really admit to, but am happy to share what I've learned so that you too can make truly great meatballs.  


The meat

Gordon and Delia might be happy with 100% beef but the fact is that meatballs need something else to make them melt in the mouth and give them that added flavour dimension. Equal proportions of minced beef, veal - not crated, obviously - and pork is the answer. This will give you the perfect balance of flavour and texture.

The "glue"

To keep your meatballs together during cooking you'll need a binding agent. In the recipes I've tried these range from eggs (used by almost everybody), to semolina (Nigella) and Jacob's cream crackers (thanks Jamie). For me though, the perfect answer is Angela Hartnett's white bread crumbs soaked in milk to create a paste. This does the job - as well as making the meatballs lighter to eat - and the addition of a teaspoon of dijon mustard helps to boost the flavour too. 

The size

Most recipes instruct you to make "golf ball sized" meatballs. I've come to the conclusion that this means I either have an abnormally small mouth or that I've been teeing off with over-sized balls. Please try and stick a golf ball in your mouth and tell me how pleasurable it is...

Personally, I prefer smaller morsels giving me a chance to devour my prey in a single mouthful. My advice, as passed on by the brilliant Felicity Cloakes, is to forget golf balls and think chocolate truffles. This also has the advantage of a better caramelised crust to meat ratio.

The cooking

Many recipes recommend poaching meatballs in their sauce - but why would you?!? All the best meat dishes, from steaks to stews, depend on the famed Maillard reactions to create a dark caramelised crust on the meat. The only way to achieve this is to brown the meatballs first. Russell Norman, of Polpo fame, suggests roasting in the oven, but I like the hands on approach of pan frying so that you can get just the level of caramelisation you're looking for. Then, throw them in to the pot for a few minutes with the tomatoes to finish cooking (a moist centre is good, raw is not...) allowing them to transfer their meaty flavours to the unctuous sauce.

The sauce

If you've followed my advice on the meatballs, a simple tomato sauce is all that's required to finish the dish. Nothing more than tomatoes, onion, garlic, a few herbs and an hour of slow cooking should do the trick. Top with some freshly grated parmesan and a little torn basil to serve. Delicious.

Try my recipe for the perfect polpette di carne.

In search of the perfect...gyoza dumplings

shutterstock_588815366.jpg

I first encountered steamed dumplings during a backpacking trip to China. My Mandarin wasn't what it should be, so I did what you’d expect from every linguistically challenged Brit - I pointed at a few things on the menu and hoped for the best. As you can imagine, I was very pleased with myself when I saw a pile of delicately presented food parcels delivered on a bamboo serving platter…until I found out that they were filled with "twice fried goose gizzards"...

Since that initial foray I have become very fond of oriental snacks, particularly Japanese Yaki Gyoza. Adapted from the dumplings found during WWII forays into China, they are one of the simplest dishes imaginable – just seasoned pork and vegetables in a dumpling wrapper, fried on one side and then steamed.  Of course, whilst they may be simple when made by a skilled gyoza chef there are a few things to look out for if you decide to make your own:

  • The filling

Traditional Yaki Gyoza contain minced pork, cabbage, chinese chives*, garlic and ginger seasoned with sesame oil, soy sauce and rice vinegar. Sometimes they also contain “shrimp” to lighten the texture and finely grated carrot for sweetness. The key is not to overfill your dumplings, raw pork isn't appetising and over-steamed dumplings are like the preverbial wet paper bag, so a teaspoon of filling is plenty. 

If you have time, it's worth squeezing any vegetables to reduce the water content which can make the gyoza dough sticky, but one technique I would definitely recommend is throwing your meat hard into a bowl 10 - 12 times during the mixing. This really helps to tenderise the pork, and removes any residual anger you may be harbouring. Very therapeutic.

  • The wrapper

Unless you’re a dedicated gyoza aficionado don’t make your own, just buy a packet of 50 from your local Asian supermarket. This makes the whole process much quicker and much less messy. Try to find genuine gyoza wrappers though as they tend to be thinner than the Chinese equivalents and have a beautiful melt in the mouth translucent finish when steamed.

  • Shaping

To shape your gyoza, just run a dampened finger around the edge of the circular wrapper to make it "gummy". Add your filling and fold over so that you have what looks like a mini Cornish pasty. Then just work your way around the edge folding small pleats as you go.

  • Cooking

Yaki Gyoza have silky soft steamed dumpling on one side and a crispy pan fried finish on the other. The traditional method of making them involves frying first, then adding water to the same pan and covering so that they steam. This is great in theory, but they were given their alternative name "pot stickers" for a reason. I would recommend separating the processes by pan frying in a little sesame oil until you have a crunchy golden base and then transferring to a piece of non-stick baking parchment in a steamer until completely cooked. This way you will get perfect dumplings every time with no sticking guaranteed.

  • Dipping sauce

The traditional dipping sauce, a mixture of Japanese soy, rice wine vinegar and chilli oil, is hard to beat but try adding a little sugar, grated ginger and garlic to really add some zing.

  • Presentation

It is said that “Peking Ravioli” as they were named by a Chinese restaurant trying to increase sales to their Italian customers, were originally invented when a chef accidentally left some steamed dumplings in a pan over a hot flame. He had no time to make a second batch and served them to his customers explaining that these double textured morsels were his latest invention. The diners loved them and they have been served crispy side up ever since.

Do yourself a favour and get down to your local Asian supermarket to pick up some wrappers, then try my Yaki Gyoza recipe.


*a garlicky variant of normal chives

In search of the perfect...pizza margherita

As my wife will happily attest, I am a man with many failings - including my unrequited love for great pizza. We once interrupted a perfectly romantic holiday just so that I could taste the legendary offerings of Pizzeria Da Michele - the home of the world's greatest pizza according to experts such as Heston Blumenthal and Diego Maradonna (and I am guessing that he knows his pizza...).

DaMichele1.jpg

We dragged our huge suitcases along Naples' Comorra-controlled side streets - dodging the piles of stinking rubbish created by the latest refuse collectors strike - to find a run down cafe with a queue of scruffy looking locals snaking out of the door. There are no reservations here, you just take a ticket and share a table as soon as a seat becomes available. The restaurant only has two things on the menu: margherita and marinara but they are as good as any pizza I have ever tasted - that Maradonna really knows his stuff.

So, what can you do to reach similar levels of perfection if you are not lucky enough to live in Naples and fancy making a pizza at home?

  1. Size

    • The pizzas in Naples are man-sized, but they have the benefit of cooking in an oven that reaches 500C (your domestic oven will get to about half that). For this reason I would recommend reducing the size of your pizzas to about 8" to lessen the chances of a soggy bottom. Tozi, one of my favourite restaurants, serves 4 inch "pizette" as part of its cicchetti (small plates) menu and they are as good as you'll find anywhere in London. Just remember, two great small ones always beats one soggy big one...

  2. The base

    • The main rule is that a pizza must be thin and it must be crispy. Pizza Hut may have made millions from deep pan, cheese filled crusts but when I become Prime Minister I am afraid they will be banned.

    • A pizza base is a simple thing - just water, flour, yeast and salt - so use finely ground "00" flour, maybe with some semolina flour to add colour and flavour, and the best Cornish sea salt. You will taste the difference.

    • Finally, give it time - use less yeast but allow it more time to work. This will create a much more flavoursome dough.

  3. The sauce

    • The pizza sauce at Da Michele is little more than cooked san marzano tomatoes, but I like the more complex flavours of a New York pizza with its herbs and long slow cooking. It's not difficult to make and freezes well, so you only need to make it a couple of times a year, even if you have a Maradonna-esque pizza appetite.

  4. The toppings

    • A recent survey showed that 37% of all pizzas bought are of the plain cheese and tomato variety. This means that your ingredients need to be good: a light dusting of parmigiano reggiano, some torn buffalo mozzarella and a few fresh basil leaves should do - just don't be tempted by that pre-grated supermarket nonsense.

    • If you do need meat on your pizza, and I can understand that, ask your delicatessen to slice some prosciutto until it is paper thin and then drape it over the pizza after cooking so that it melts in the roof of your mouth. Top with some fresh rocket leaves dressed in lemon and olive oil. Simple.

  5. The cooking

    • As I have said, getting a thin, crispy base is always going to be a struggle without a wood-burning oven. However, you can achieve the impossible with the help of the "frying pan method" espoused by the Pizza Pilgrims in their book "Recipes from the backstreets of Italy". This simply involves getting a dry frying pan screamingly hot, cooking the pizza for 2 minutes on the hob and then putting it under a hot grill for another 2-3 minutes until charred and blistered.

If travelling to Naples to try a cheese and tomato pizza seems a little excessive, which I suppose could be excused, try my ultimate homemade pizza recipe.